Thursday, March 25, 2010

Weeks 13 & 14- Painting our Animal Sculptures

Sorry I haven't put up a blog post lately.  During the past 2 classes, we painted our animal sculptures.  


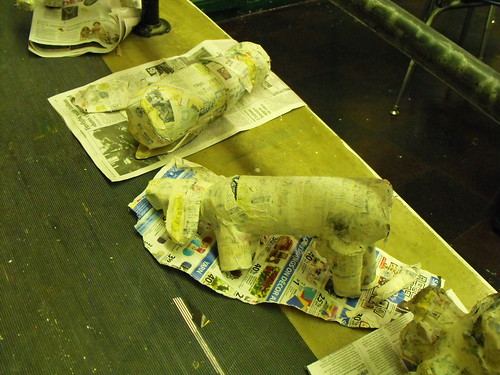
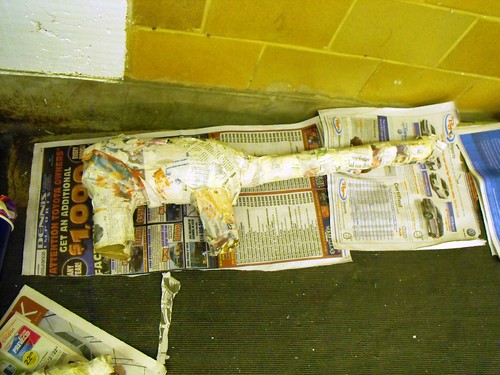
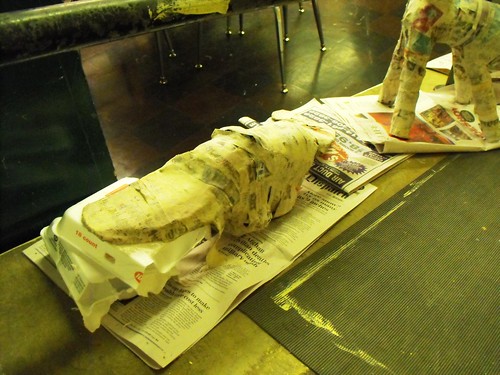
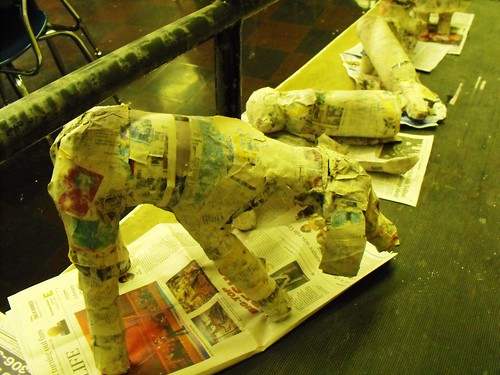
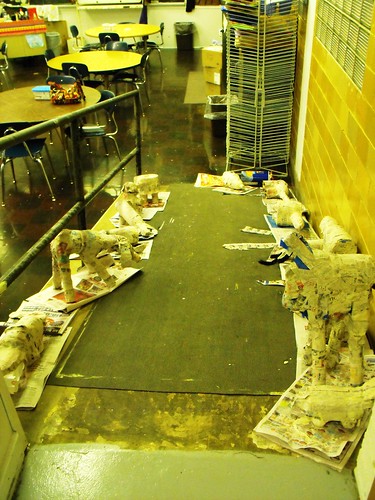
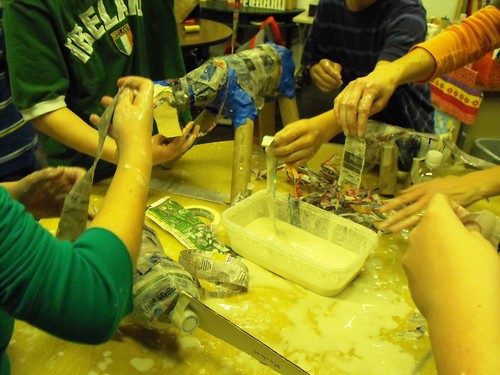
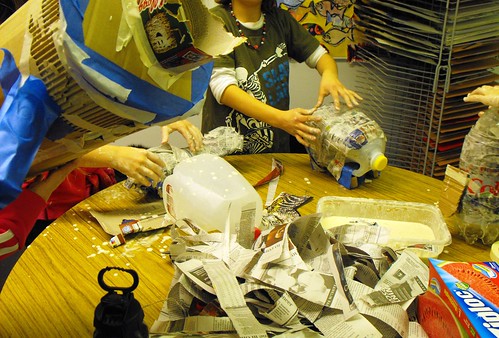
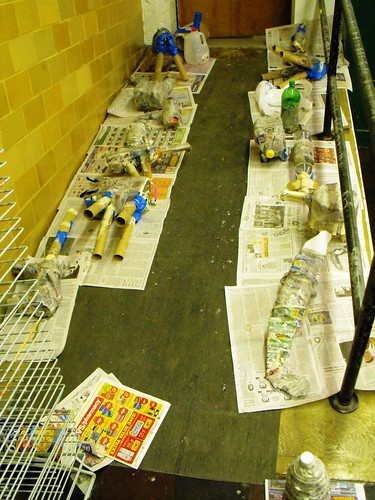
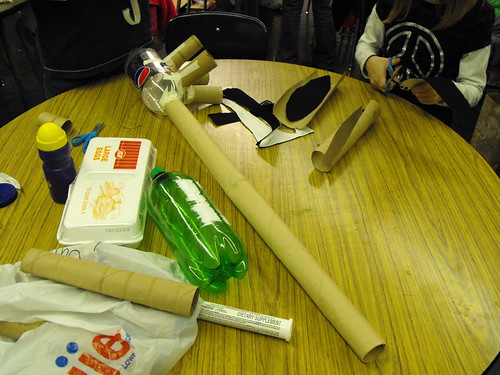
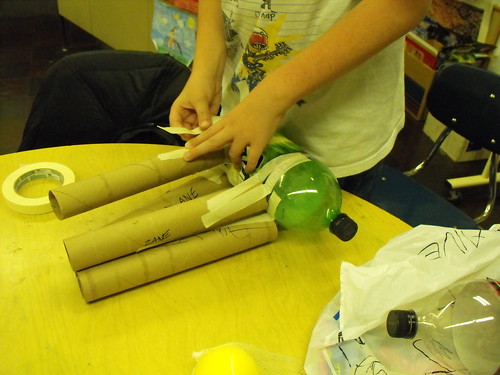
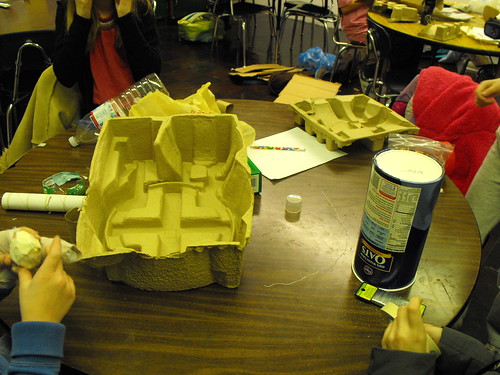
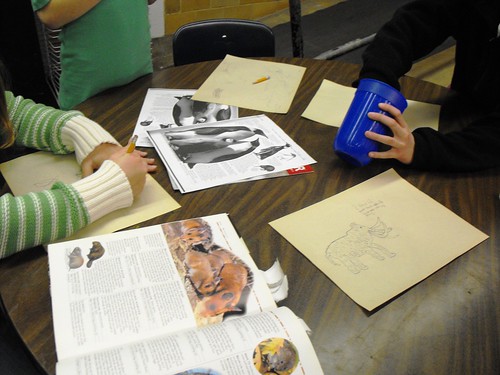
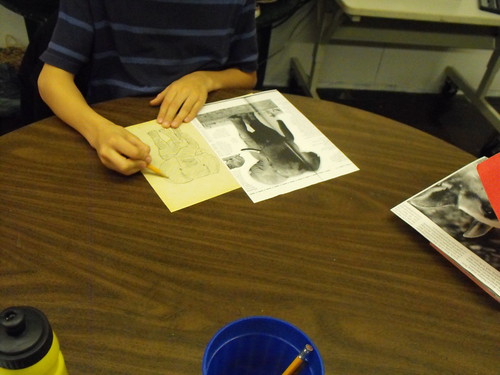
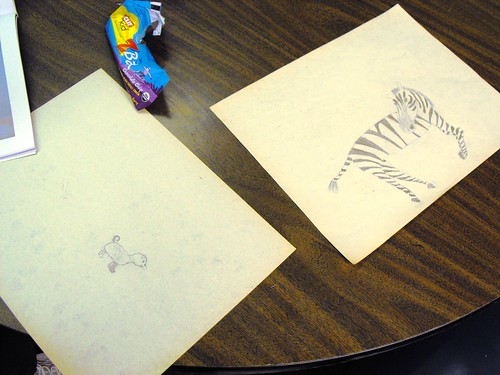
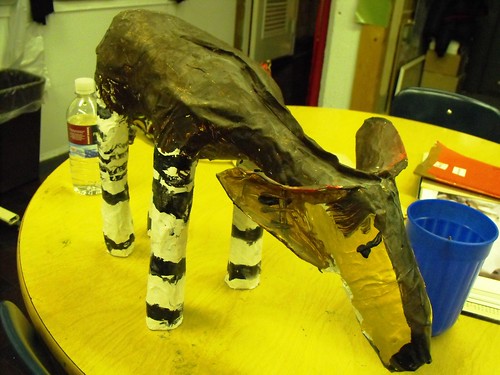
Mrs. Luker told me that she's gotten lots of compliments on the kids' sculptures.  I'm not surprised... they look amazing!  Look for these sculptures after spring break in the glass display cases at the front of the school.  


Speaking of Mrs. Luker, this is the last class that these fourth graders will have with her, as she will be off for maternity leave after spring break.  Mrs. Luker... thank you so much for your time and talent in art enrichment class!  We wish you all the best for the upcoming birth of your child!  :)

After spring break, we will start a couple of painting projects.  One involves painting with acrylics on canvas and layering shapes with contact paper.  The other, is a postcard contest sponsored by the Plain City Business Association.  Details to follow soon!

Thursday, March 4, 2010

Week 13- Painting our Animal Sculptures


This week we began painting our animal sculptures with acrylic paint.  Acrylic paint is opaque, which really covers the newsprint well.

Some of the kids decided not to paint their animal exactly how it looks in nature. I thought this was a fun idea. One student thought it would be fun to put a tie dye pattern on her penguin. Another student decided that spots would be neat on a dog. I like the idea of playing with these sculptures and making them even more interesting to look at. We've been stuck in our houses all winter with gray skies outside. Why not have some fun with color?


For this blog update, I decided to directly upload the photos to the blog instead of using flickr as my picture hosting site.  I've heard that teachers at the school haven't been able to view the pictures on the blog, because flickr is blocked.  Hopefully, you'll all be able to see the photos now.  :)

We'll continue painting our sculptures next week and finish up this project. See you next week!

Wednesday, February 24, 2010

Week 12- Continuing the Paper Mâché Process

The week, we continued to lay down wet newspaper strips on our sculptures. It was kind of funny to see some of the boys grossed out by the flour/water mixture. On the flipside, most of the girls seemed to be fine with it! Anyway, the kids had a great time finishing up this process of their sculptures and once again, thanks to the moms who came in to help us!

Here's some examples of their progress:


And here they are all together.....


Next week, we'll begin painting our sculptures and also help Mrs. Luker and Mrs. Klenowski paint the sets for the 3rd/4th grade play. See you then!

Wednesday, February 17, 2010

Art Enrichment Students' Work On Display at the Pioneer Coffee Company


Hi everyone! We've missed two classes because of all this bad weather and snow. I hope everyone's been staying warm and taking some time to paint or draw on their own to pass the time.

I wanted to let you all know, that the students' watercolor landscapes are on display at the Pioneer Coffee Company on Main Street in Plain City! They've been given a very prominent spot right in the front of the coffee shop, right next to other local professional artist's work. Please go in and take a look at them... they look fantastic all together.

And, please support the Pioneer Coffee Shop and thank them for agreeing to show the kids' work. :)


UPDATE:

I just got a really nice e-mail from Jeremy at the coffee shop...

Hi Hilary,

Its Jeremy from Pioneer Coffee. The art work is all hung on the wall and looks GREAT! I hope all of you can make it out sometime soon and see how much it livens our place up. Just wanted to say thanks again for the participation and contribution. One of our main visions is reaching out and being very much involved in this community, and this was a great step in that direction. Hope to see you soon!!

Jeremy

Wednesday, February 3, 2010

Week 11- Beginning the Paper Mâché Process

Today we started the messy, sticky, gooey process of laying the wet newspaper on our armatures. I mixed up several bins of flour and water and the kids tore the paper into strips. I demonstrated how to lay the paper on in layers, overlapping each piece with the next strip. You start with the largest part of your animal and work your way out to the legs or limbs. Here's some photos of the kids work:


Here they all are drying on the ramp in the art room...


Special thanks to April Kieffer for coming in to help this week. We really appreciated it!

If any parents would like to come next week to help, we'd love to have the extra hands. :)

And, please send in newspaper with your child if you can. See you next week!

Friday, January 29, 2010

Week 10- Creating the Armature for our Animal Sculptures

This week, kids brought in supples like plastic pop bottles and cardboard and starting putting together the armature or framework for their paper mâché animal sculptures...


We secured the parts with lots and lots of masking tape...


Some kids used cardboard to make the underlying shape of their animal...


Next week, the kids that still need to fine tune their armatures can do so. If you forgot to bring something for your sculpture, please remember to bring it next week! Kids who are ready to start sculpting with wet newspaper will get the opportunity to begin that on Tuesday. See you then!

Thursday, January 21, 2010

Week 9- Beginning our Animal Sculptures

This week, the kids chose an animal they'd like to sculpt out of paper mâché. To start, we drew our animal to get familiar with it's shape and body parts.


We also talked about gathering supplies for the armature of the animal by asking ourselves questions like these: What sort of shape is the body? Would a 2 liter bottle serve as a good base for it, or something else? Is it flat like a turtle? Perhaps a plastic lid would work. Some kids are collecting things like paper towel tubes for legs. Cardboard works well for ears and wings. Wire can be used for thin parts like antlers. And of course, everyone will need newspaper.


Here's an example of a 1st grader's animal project, an okapi, done with paper mâché. The body is a two liter bottle, the legs are paper towel tubes, the head is a small Gatorade bottle, and the ears are cardboard.


Hopefully this gives you an idea of what we are about to undertake. It should be lots of fun!