
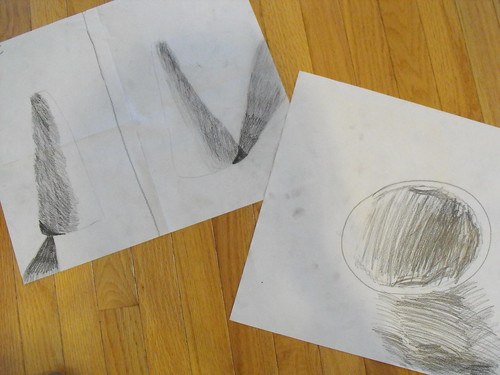
First I set the ball up with a light source just like last week's still life. I talked about how light travels over the round object. The sphere is lightest closest to the light source and darkest further away. However, there's also back-lighting and the very edge of the ball furthest away from the light source. In some cases back-lighting is more apparent and it all depends on your vantage point. I switched the light source to the opposite side so that the kids would have a different vantage point. Same object, different shading with light and dark.
Then, I set up the cone and talked about how light hits that object. We did the same exercise shading light and dark with the cone and I also switched the light source so that they could do it again from a different vantage point.
The point of this exercise, is to understand how light affects solid objects. As an artist, you are hoping to show that the object is 3 dimensional and has volume on your 2 dimensional piece of paper.
I could tell that some of the kids were getting a little bored with the exercises and that's understandable. I explained that by doing shading light and dark on these simple objects, it will help them show light and dark on more complex objects in future drawings. Drawing exercises like this are like practice with sports. You don't play games without practice....at least not well. It's the same thing with art. These lessons are the foundation of good drawing skills.
And as an artist, it's your job to find beauty in the mundane. Any object can be interesting if you look hard enough. :)
Next time we'll work on shading a cube and I'll also bring more complex objects. After Thanksgiving break, I hope to introduce color theory with watercolors.
No comments:
Post a Comment